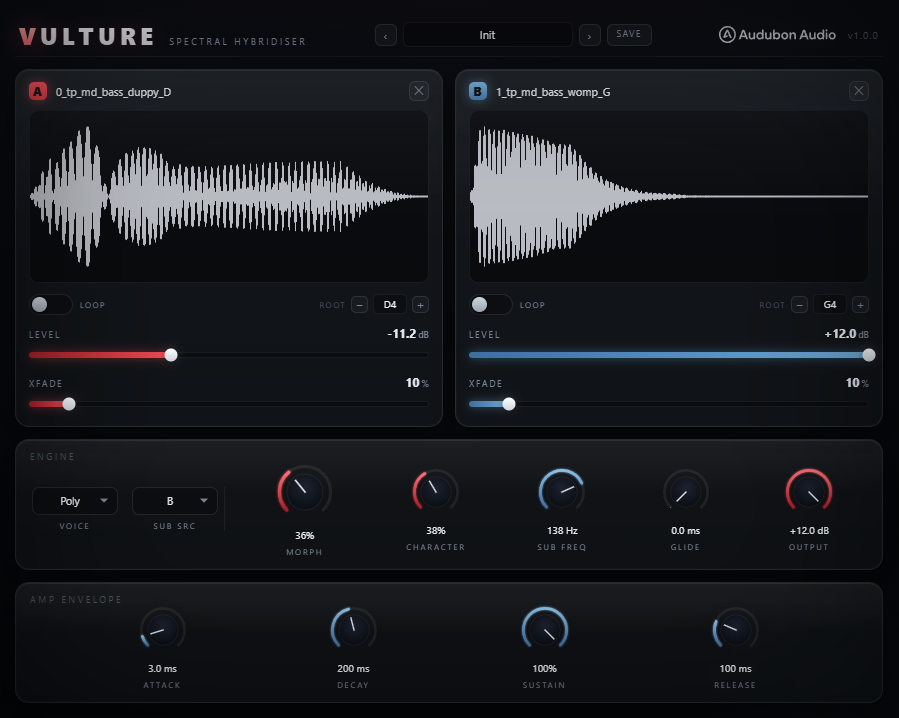
What Vulture does: Vulture is a two-slot sampler instrument that merges your sounds in the frequency domain. Load a sample into slot A and another into slot B, and a 4096-point STFT analyses both, then morphs their magnitude and phase into a single hybrid you play across the keyboard. A separate clean mono sub keeps the low end tight, and per-slot looping, repitching, and Poly/Mono/Legato voicing make the result a real instrument — not just a sample player.
Interface Overview
1
Sample Slots A & B
The two large panels at the top are your source slots. Drag and drop any audio file (WAV, AIFF, FLAC, or MP3, up to 48 MB) straight onto a slot's waveform to load it — the panel shows the sample name and draws its waveform. Click the
✕ in a slot's top corner to clear it. The hybrid you hear is built from both slots together, so load two contrasting sounds to get the most dramatic morph.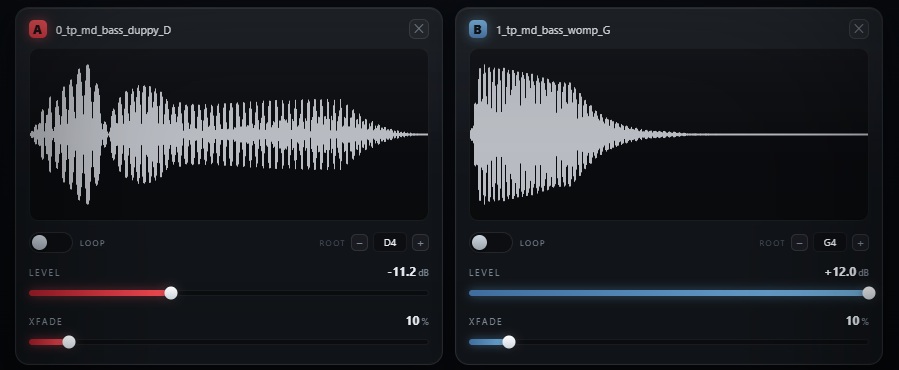
2
Per-Slot Controls — Root, Level, Loop & Xfade
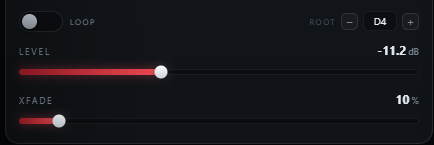
Each slot has its own playback settings beneath the waveform. Set them per sample so the two sources sit in tune and in balance before they merge.
Root
C-1 to G9 (default C4)
Tells Vulture the pitch the sample was recorded at. Use the
−/+ steppers to set it. Both slots are repitched to a common root, so a C on your keyboard always plays a C.Level
−24 dB to +12 dB
Independent gain for that source. Balance a loud sample against a quiet one before the morph so the blend lands where you want it.
Loop Mode
Oneshot / Loop
Oneshot plays the sample once per note; Loop sustains a region for as long as the key is held — turning any sample into a pad.
Xfade
0% to 100%
Crossfade across the loop seam. Raise it to smooth the join between the loop end and start so sustained notes hold without clicks.
3
Loop Region Brackets
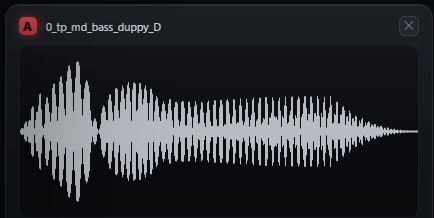
When a slot is set to Loop, the loop region is shaded on the waveform with a bracket at each edge. Click and drag either bracket directly on the waveform to set where the loop starts and ends. Hold a note and playback runs to the loop end, then repeats the bracketed region (with your Xfade smoothing the join) for as long as the key is down.
4
Voice & Sub Source
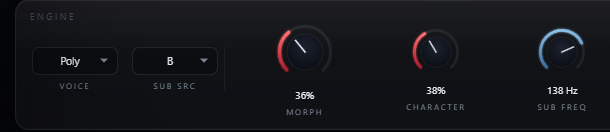
Two segmented switches sit between the slots and the knob row. They decide how Vulture plays and where the clean low end comes from.
Voice
Poly / Mono / Legato
Poly plays full chords; Mono is a single tight voice; Legato retriggers only on separated notes, so overlapping notes glide instead of restarting.
Sub Source
Auto / A / B
Chooses which sample owns the clean mono sub. Auto picks the source with the most low-end energy; force A or B when you know which sound should anchor the bottom.
5
The Knob Row
Five knobs along the bottom shape the whole hybrid. Drag any knob vertically to change it, hold
Shift for fine adjustment, and double-click to reset it to centre. Morph and Character build the sound; Sub Freq, Glide, and Output shape how it plays and how loud it lands.Morph
0% to 100%
The position between the two sources. 0% is pure A, 100% is pure B, and everything between is a true spectral blend of both.
Character
0% to 100%
How the two spectra meet. Toward 0 keeps the full, fat sum (union); toward 100 keeps only the frequencies the two share (intersect) for a tighter hybrid.
Sub Freq
60 Hz to 200 Hz
The crossover between the clean mono sub and the morphed top. Lower for sub-only anchoring; higher to keep more low-mids clean.
Glide
0 ms to 2000 ms
Portamento time for Mono and Legato modes — slides pitch from note to note. No effect in Poly mode.
Output
−24 dB to +12 dB
Final level trim on the merged instrument. Compensate for loud source material or match the hybrid to the rest of your session.

Typical Workflow
A
Load Two Contrasting Samples
Drop one sound onto slot A and a different one onto slot B. The bigger the difference between the two — a vocal and a synth, a drum loop and a pad — the more dramatic the morph. Start with two clean one-shots while you learn the controls, then experiment with loops and textures.
B
Tune the Roots and Balance Levels
Set each slot's Root to the pitch the sample was recorded at so both sources play in tune with the keyboard and with each other. Then use the per-slot Level bars to balance them — if one sample dominates, the morph will lean toward it no matter where the Morph knob sits.
C
Dial Morph and Character
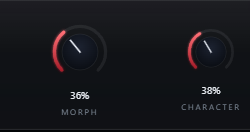
Sweep the Morph knob to find the blend you like — or automate it across a phrase to transform A into B in real time. Then use Character to set the texture: toward union for a big, full combined sound, or toward intersect for a tighter hybrid that emphasises only what the two sources share. Small Character moves make a big difference, so adjust by ear.
D
Set the Sub and Choose a Voice Mode
Pick the Sub Source (Auto works well to start) and set Sub Freq so the low end stays clean and solid under the morph. Finally choose a Voice mode — Poly for pads and chords, Mono or Legato with a touch of Glide for basses and leads — and trim the Output to sit the instrument in your mix. Note that changing samples or large Morph moves trigger a quick background re-render; that's normal and happens off the audio thread.